The actual working viewport
The Windows Vulkan path shares your working viewport with OBS. No second rendered viewport is created. Recording performance still depends on your scene, GPU and OBS settings.
Bevel Graphics / Capture tools
Keep your tools. Clean up the audience view.
Blender to OBS is a Bevel Graphics addon that sends your working Blender viewport to OBS Studio, with output-only visibility controls and separate editor sources on Windows.
Version 0.12.2 / Windows x64 + Vulkan / Separate experimental Mac preview
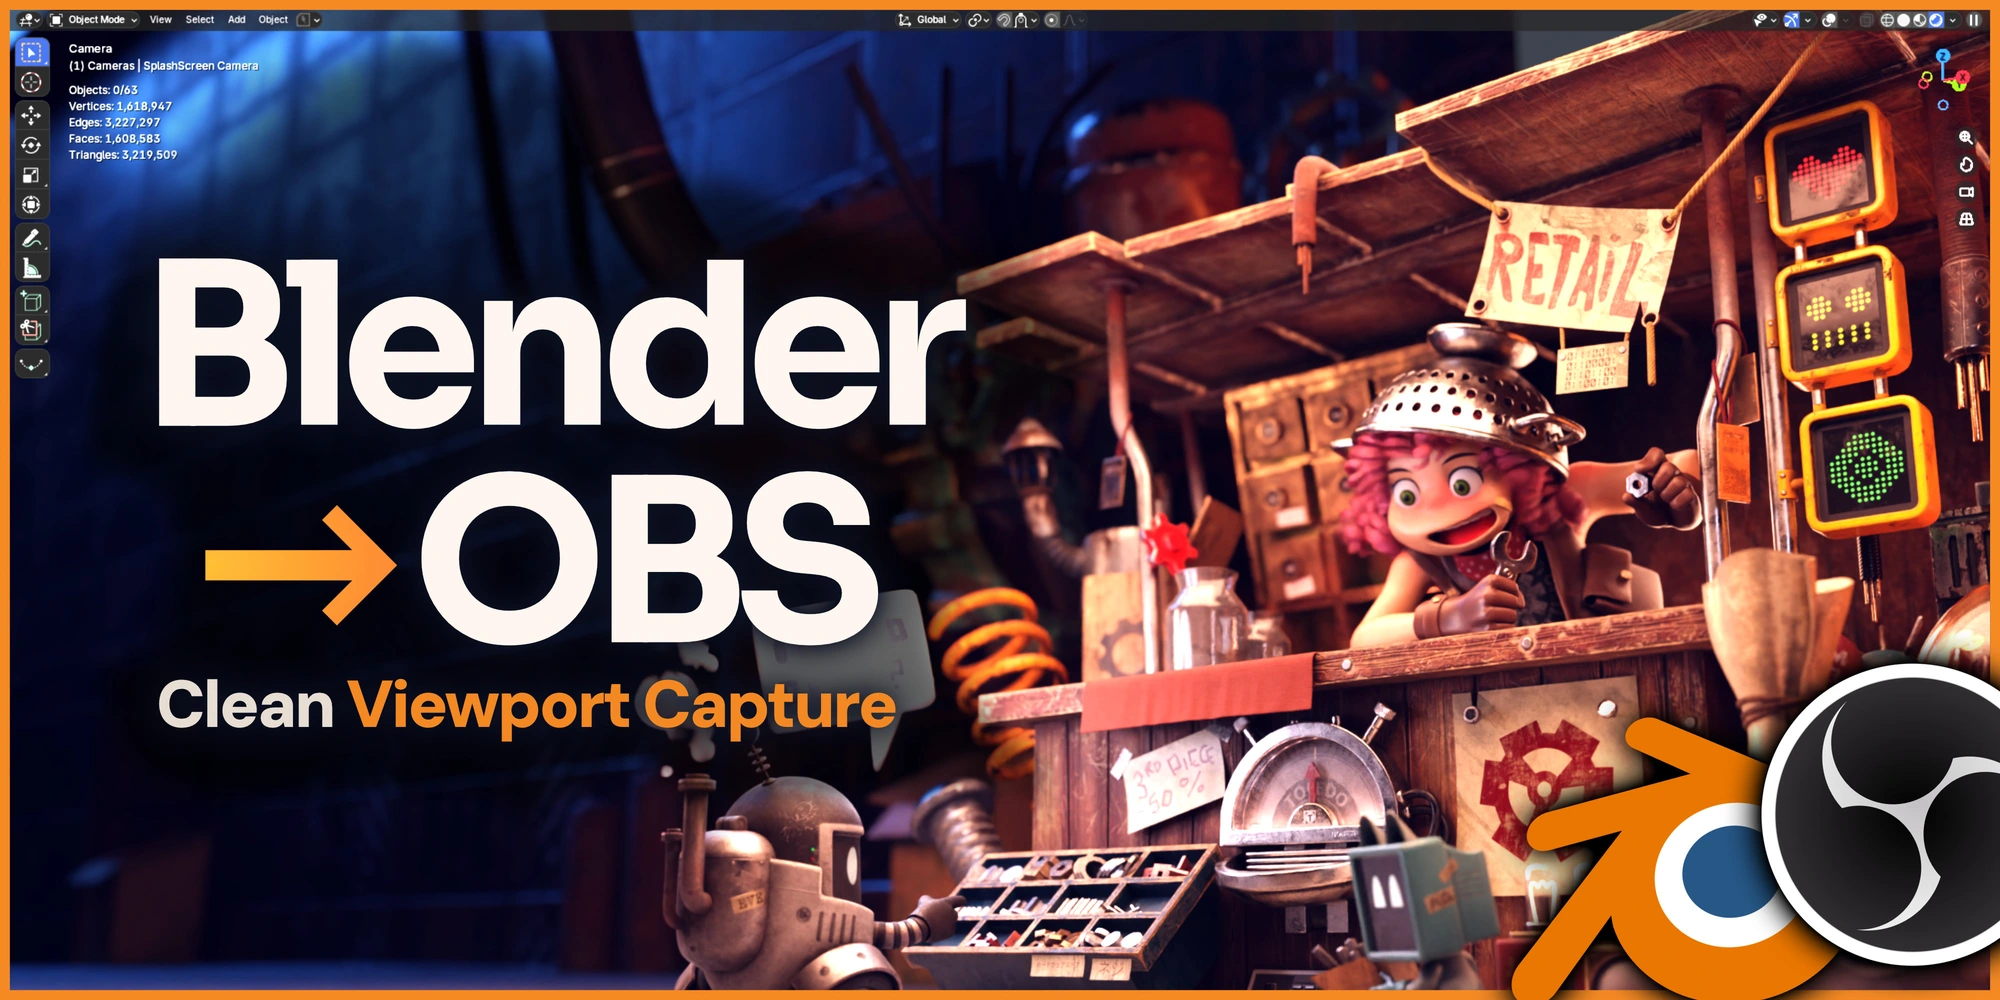
Selections, gizmos and panels help you create. They are not always what your viewers need to see. Blender to OBS separates output visibility from the working interface, so a clean recording does not require hiding the tools you use.
The Windows Vulkan path shares your working viewport with OBS. No second rendered viewport is created. Recording performance still depends on your scene, GPU and OBS settings.
Choose which supported overlays, measurements, gizmos, labels and interface elements appear in OBS. Keep the working UI available in Blender.
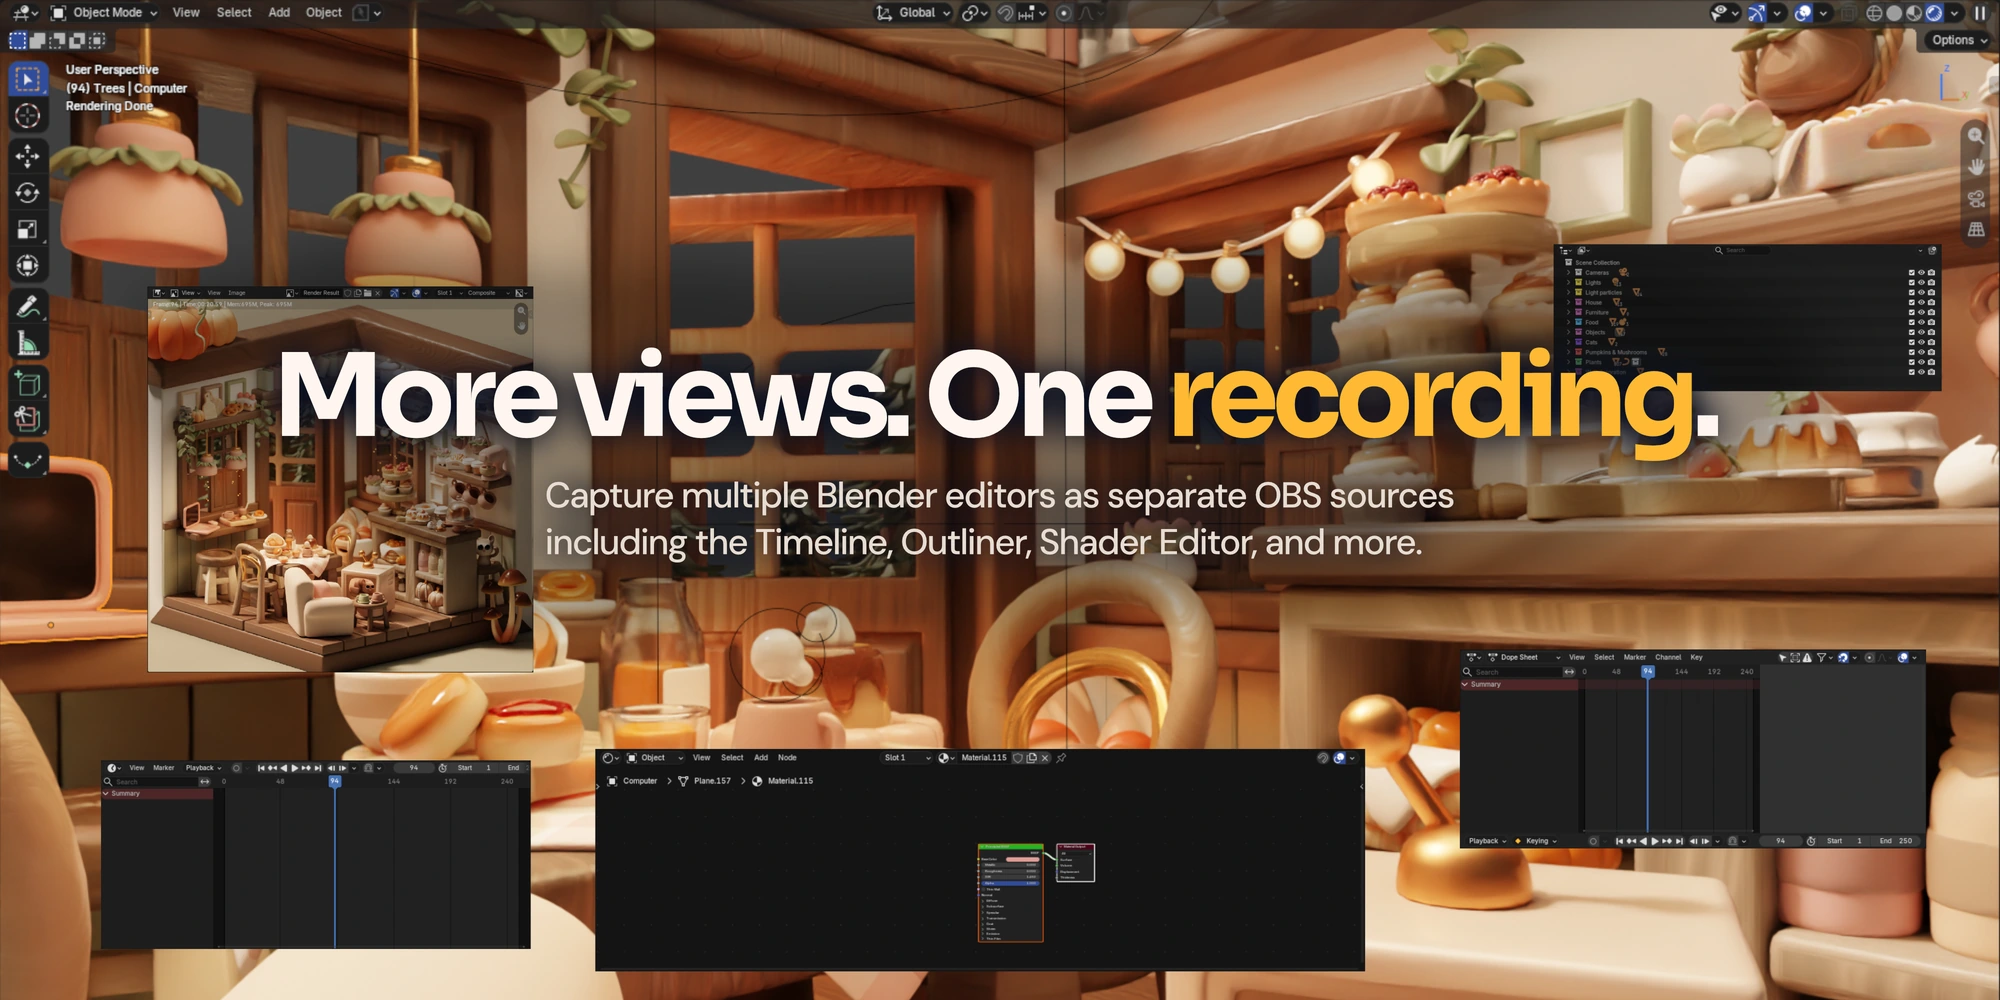
On Windows, add open Blender editors as individual sources. Frame a Shader Editor, Timeline or Outliner independently of the main viewport.
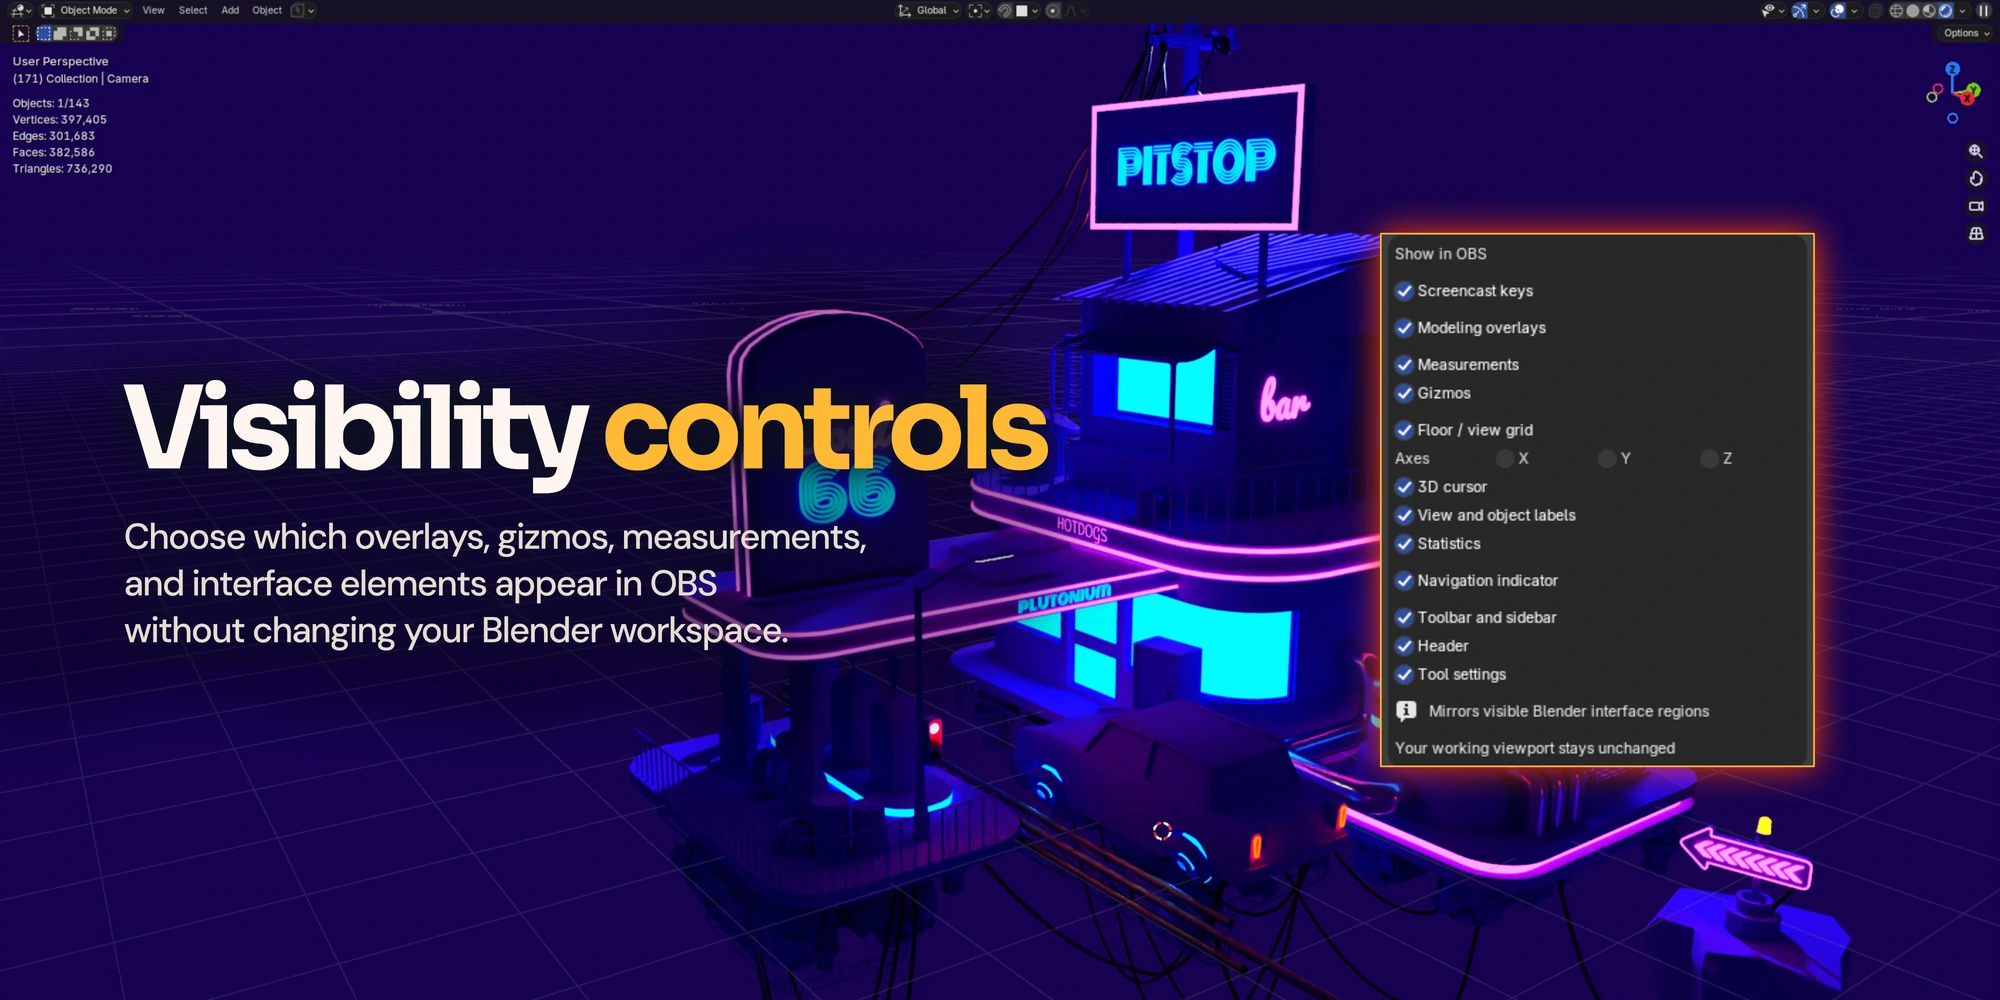
Show the material beside its nodes. Explain animation alongside the Timeline. Enable screencast keys when shortcuts matter. Keep a scene review uncluttered, then reveal the controls that explain a decision.
Each additional Windows capture has independent format and framing settings. Keep captured editors visible and their Blender window restored; restart capture and re-add editors after loading another file.
Format presets resize the real viewport or editor and may resize neighboring editors. Choose Fit, Fill, Stretch or Manual placement in OBS. Recording starts in OBS, not automatically from the addon.
Read the clean viewport recording guide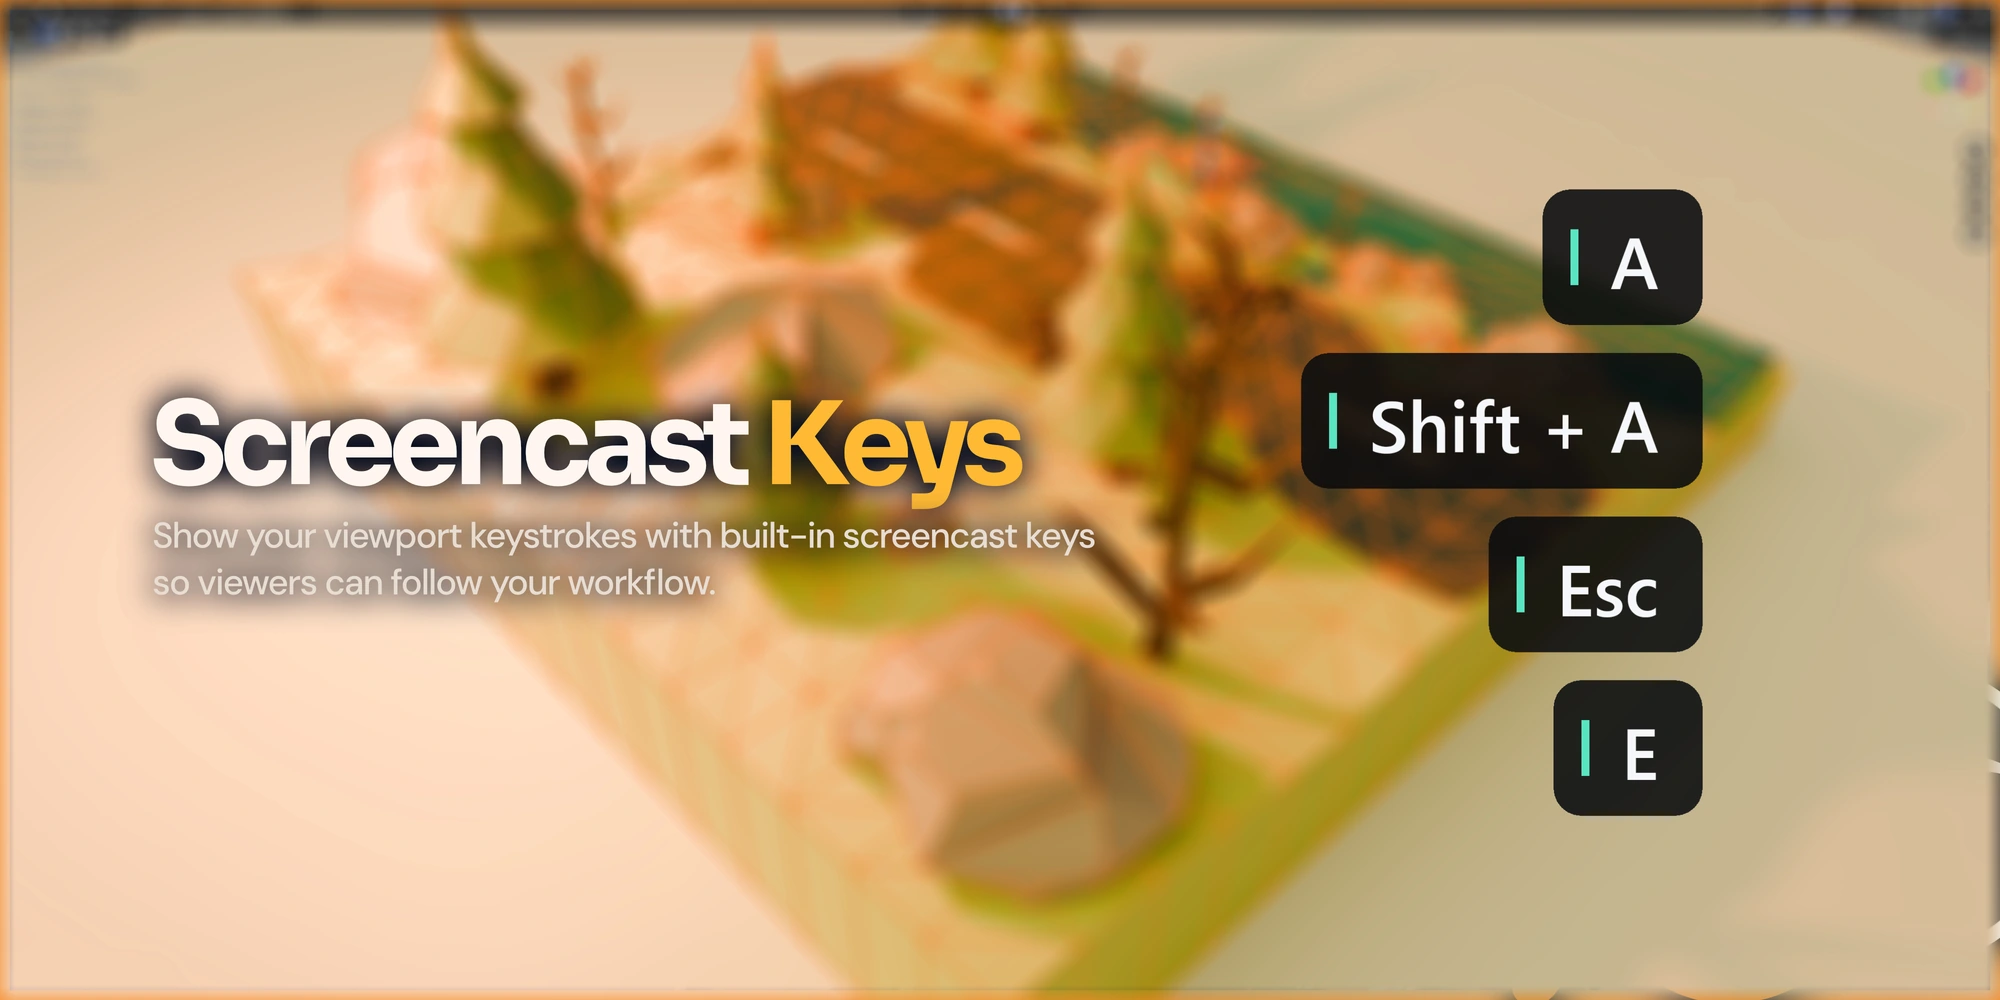
The native bridge depends on Blender internals and remains experimental. Test your exact Blender build, shading mode and scene before recording an important session. No universal frame-rate or zero-overhead guarantee is made.
It separates the view you need for working from the view your audience needs. On Windows, send the actual working viewport to OBS and choose which overlays and interface elements appear in the output without hiding them in your Blender workspace.
No. The Windows Vulkan path shares the actual working viewport. It does not create a second rendered viewport. This does not mean recording is free of GPU cost or that every scene will reach a particular frame rate.
Version 0.12.2 targets Windows x64 with Vulkan and Blender 4.5 and 5.0-5.3 families. OBS 32.1.2 was tested. Recent editor checks covered Blender 4.5.14, 5.0.1, 5.2.3 and 5.3 beta. The native bridge is experimental; compatibility varies by Blender build, GPU and driver.
Yes, on Windows. Choose an already open editor or Window and add it as a separate OBS source. Each capture has its own format and framing settings. Keep captured editors visible and their Blender window restored.
Apple Silicon has a separate experimental preview for Blender 5.2/5.3 using a slower Metal/browser path. It does not include Windows editor capture, native interface/menu capture, screencast keys, Wireframe or Quad View. Do not assume feature parity with Windows.
No. OBS remains responsible for recording, resolution, FPS and quality. Start recording in OBS after checking its preview. The addon supplies the Blender capture workflow.
Wireframe includes native viewport overlays. Independent overlay filtering is available in the other supported shading modes. Test the exact shading mode you plan to record.
Get Blender to OBS from Superhive. Check the listing for current pricing, package contents and platform requirements.
Installation help: bevel.graphics1@gmail.com