How to Record a Clean Blender Viewport in OBS Without Hiding Your Tools
Keep the tools you need while showing viewers a cleaner Blender capture. A practical guide to Blender to OBS for tutorials, modeling videos and scene presentations.
By Bevel GraphicsPublished
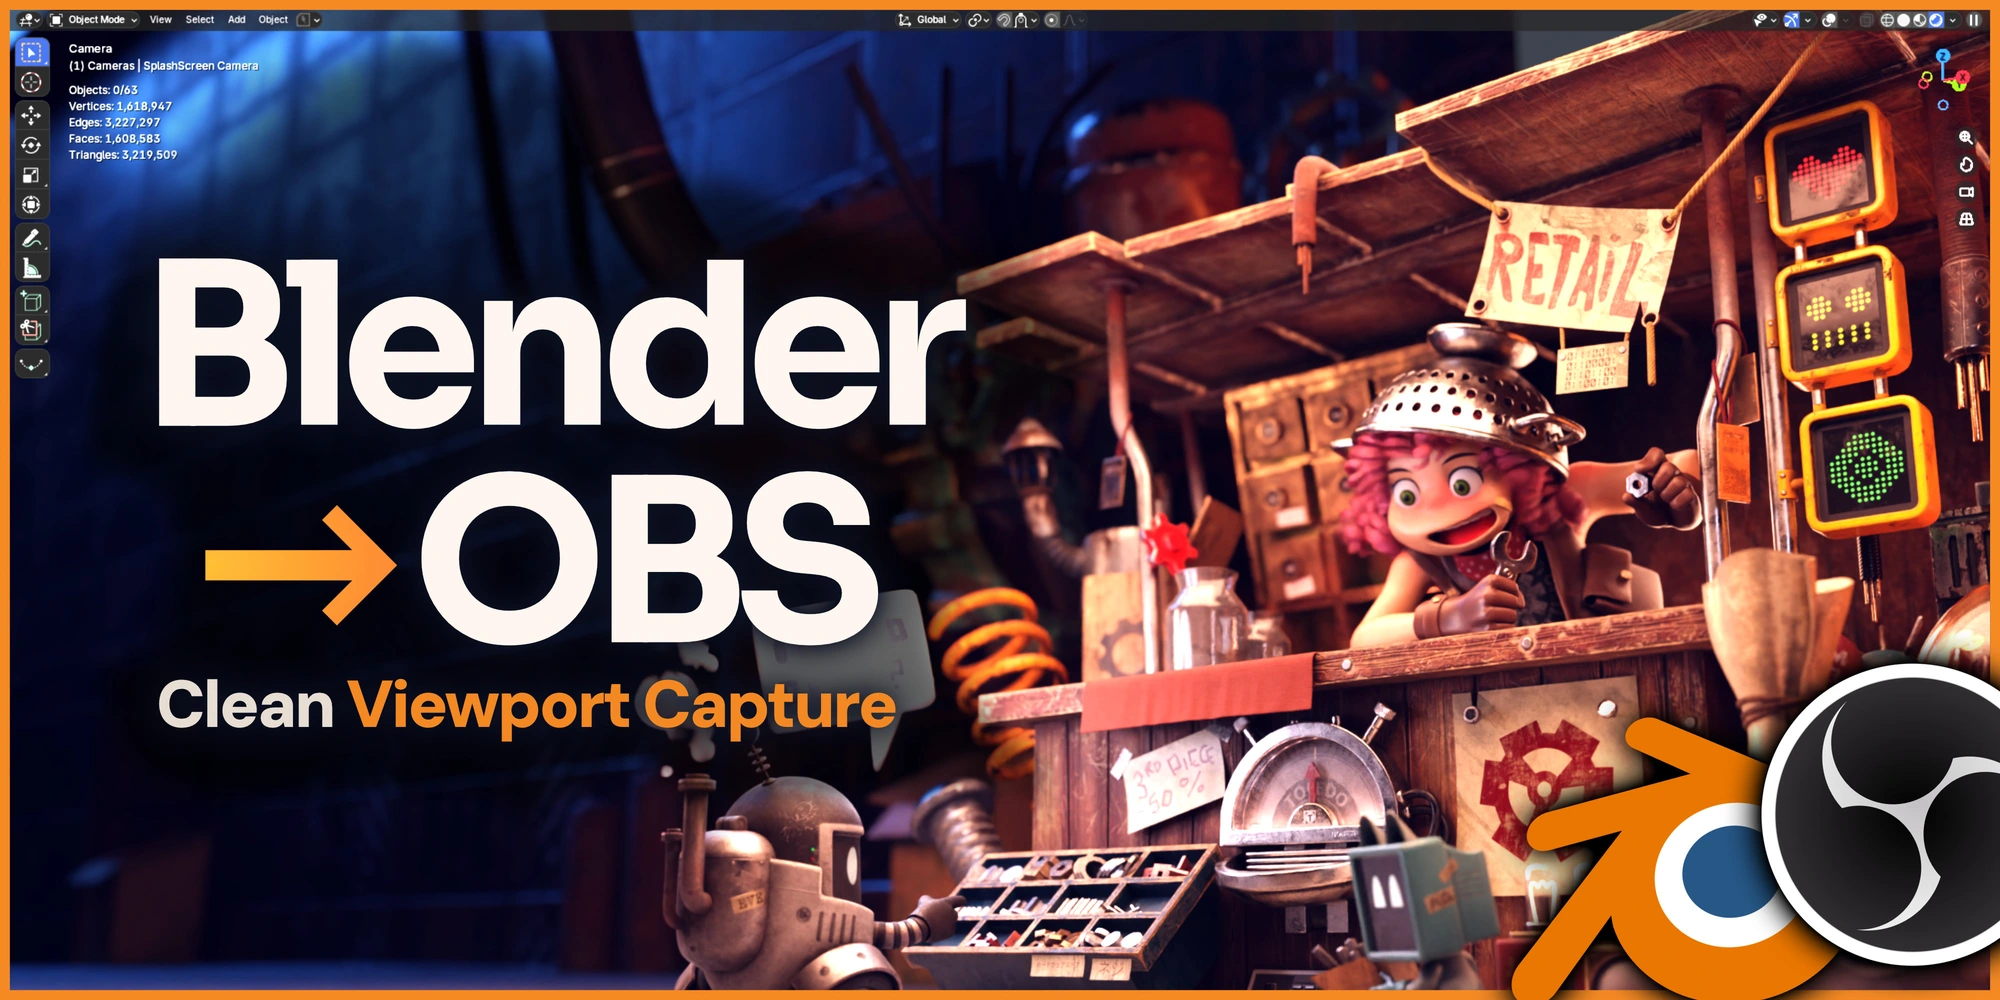
Blender to OBS is a Bevel Graphics addon that sends your working Blender viewport to OBS Studio, with output-only visibility controls and separate editor sources on Windows.
The practical problem is not simply recording Blender. It is recording a useful presentation while keeping a useful workspace. A modeler needs selections, gizmos and panels; a viewer may need only the model. For a lesson, that same viewer might need a shortcut display or the Shader Editor. Blender to OBS gives those presentation choices their own controls instead of making every recording look exactly like the working interface.
Why the working view and the audience view need different information
Consider a modeling breakdown. You want the audience to follow the silhouette and surface changes, but you still need selections and tools to make those changes. Hiding everything in Blender interrupts that workflow. Capturing the whole desktop includes more context than the shot needs. Cropping a window can frame a viewport, but a crop alone cannot selectively remove the overlays inside it.
This is a presentation problem for tutorial creators, 3D educators, livestreamers and artists showing work in progress. It also comes up in architectural visualization reviews: a client may want to inspect a material or camera angle without reading the entire Blender interface. The addon addresses that capture layer; it does not replace thoughtful teaching, scene preparation or final rendering.
How Blender to OBS handles clean viewport capture
On Windows, the Vulkan path sends the actual working viewport to OBS rather than creating a second rendered viewport. The Show in OBS controls decide which supported overlays, gizmos, measurements, grid, axes, labels and interface elements appear in the output. These visibility controls default off and do not hide the working Blender UI.
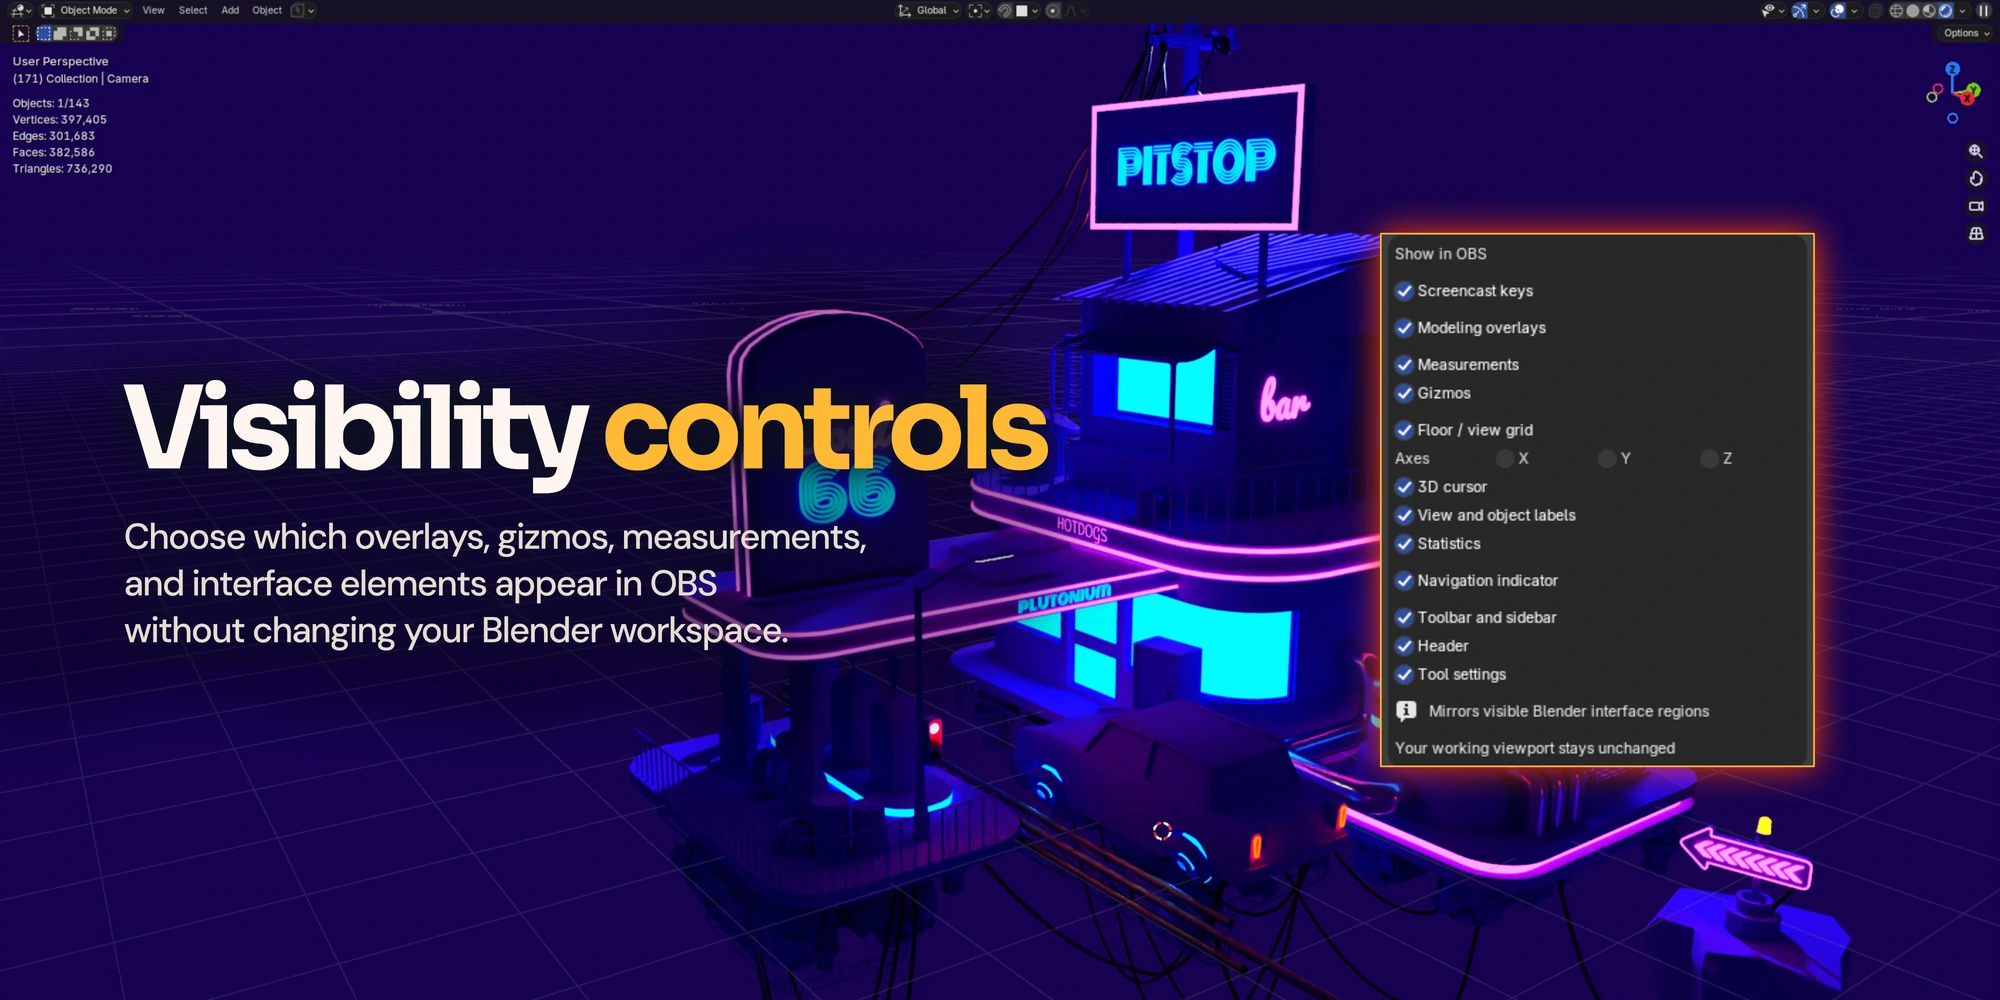
For a tutorial, enable the elements that explain the operation. For a clean scene presentation, leave unnecessary elements out. Native popup capture on Windows follows its interface category, but private Blender GPU layouts make this an experimental feature rather than a guarantee for every popup or build.
Record Blender in OBS: the Windows setup
- Install the Windows ZIP through Blender Preferences > Add-ons > Install from Disk and enable Blender to OBS.
- Select Vulkan in System preferences if needed. Restart Blender normally after initial setup or a native bridge update.
- Close OBS normally once for first-time receiver setup. In Blender, open the N sidebar, choose OBS and click Open in OBS.
- Choose what to show in OBS, set the capture format and select Fit, Fill, Stretch or Manual placement.
- Set resolution, FPS and recording quality in OBS. Check the preview and make a short test recording before the full session.
After the initial setup, no custom launcher or saved blend file is required. The panel is named OBS in version 0.12.2. Keep the captured editor visible and its Blender window restored. After loading another file, restart capture and re-add the editors you need.
Show the Shader Editor, Timeline or Outliner as separate sources
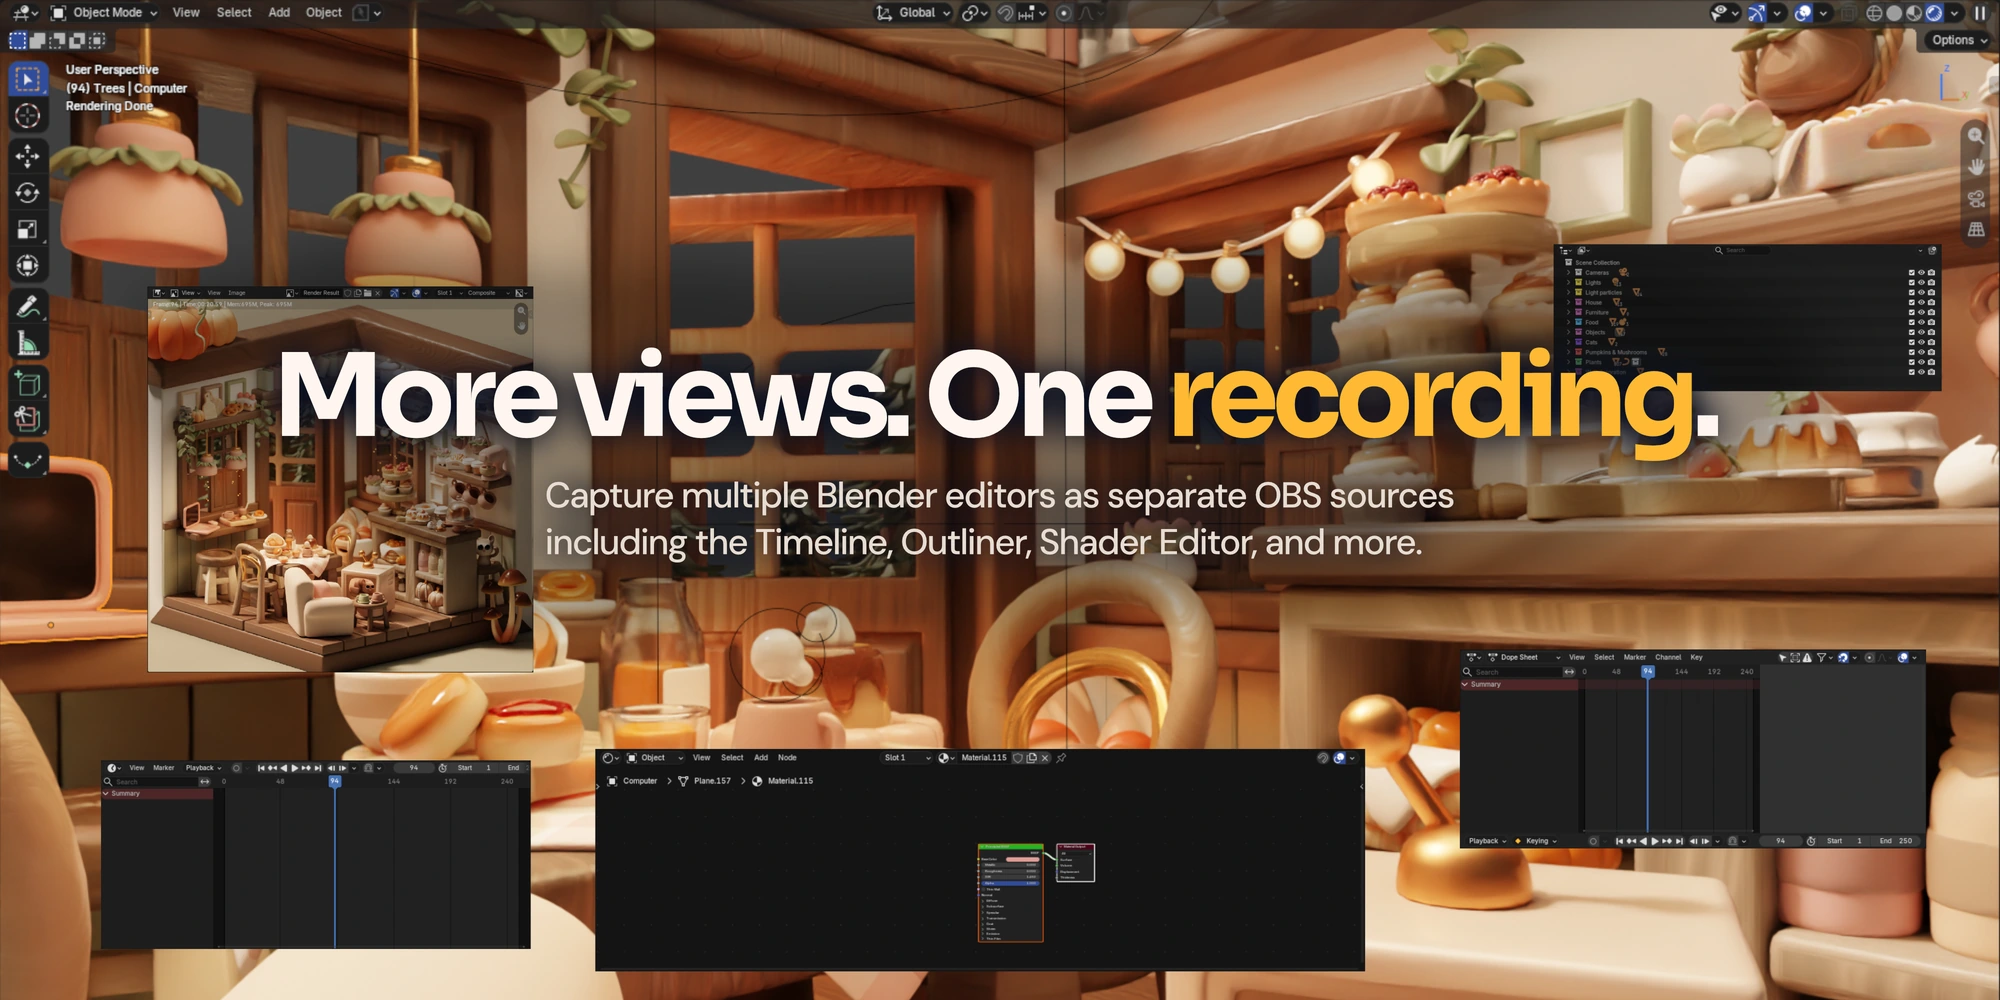
A shader lesson often needs two views: the material result and the nodes that produce it. On Windows, add an already open editor as a separate OBS source and arrange it alongside the viewport. The same approach can show a Timeline during animation or an Outliner when explaining scene organization. Each capture has independent format and framing settings.
Three recording workflows for 3D artists
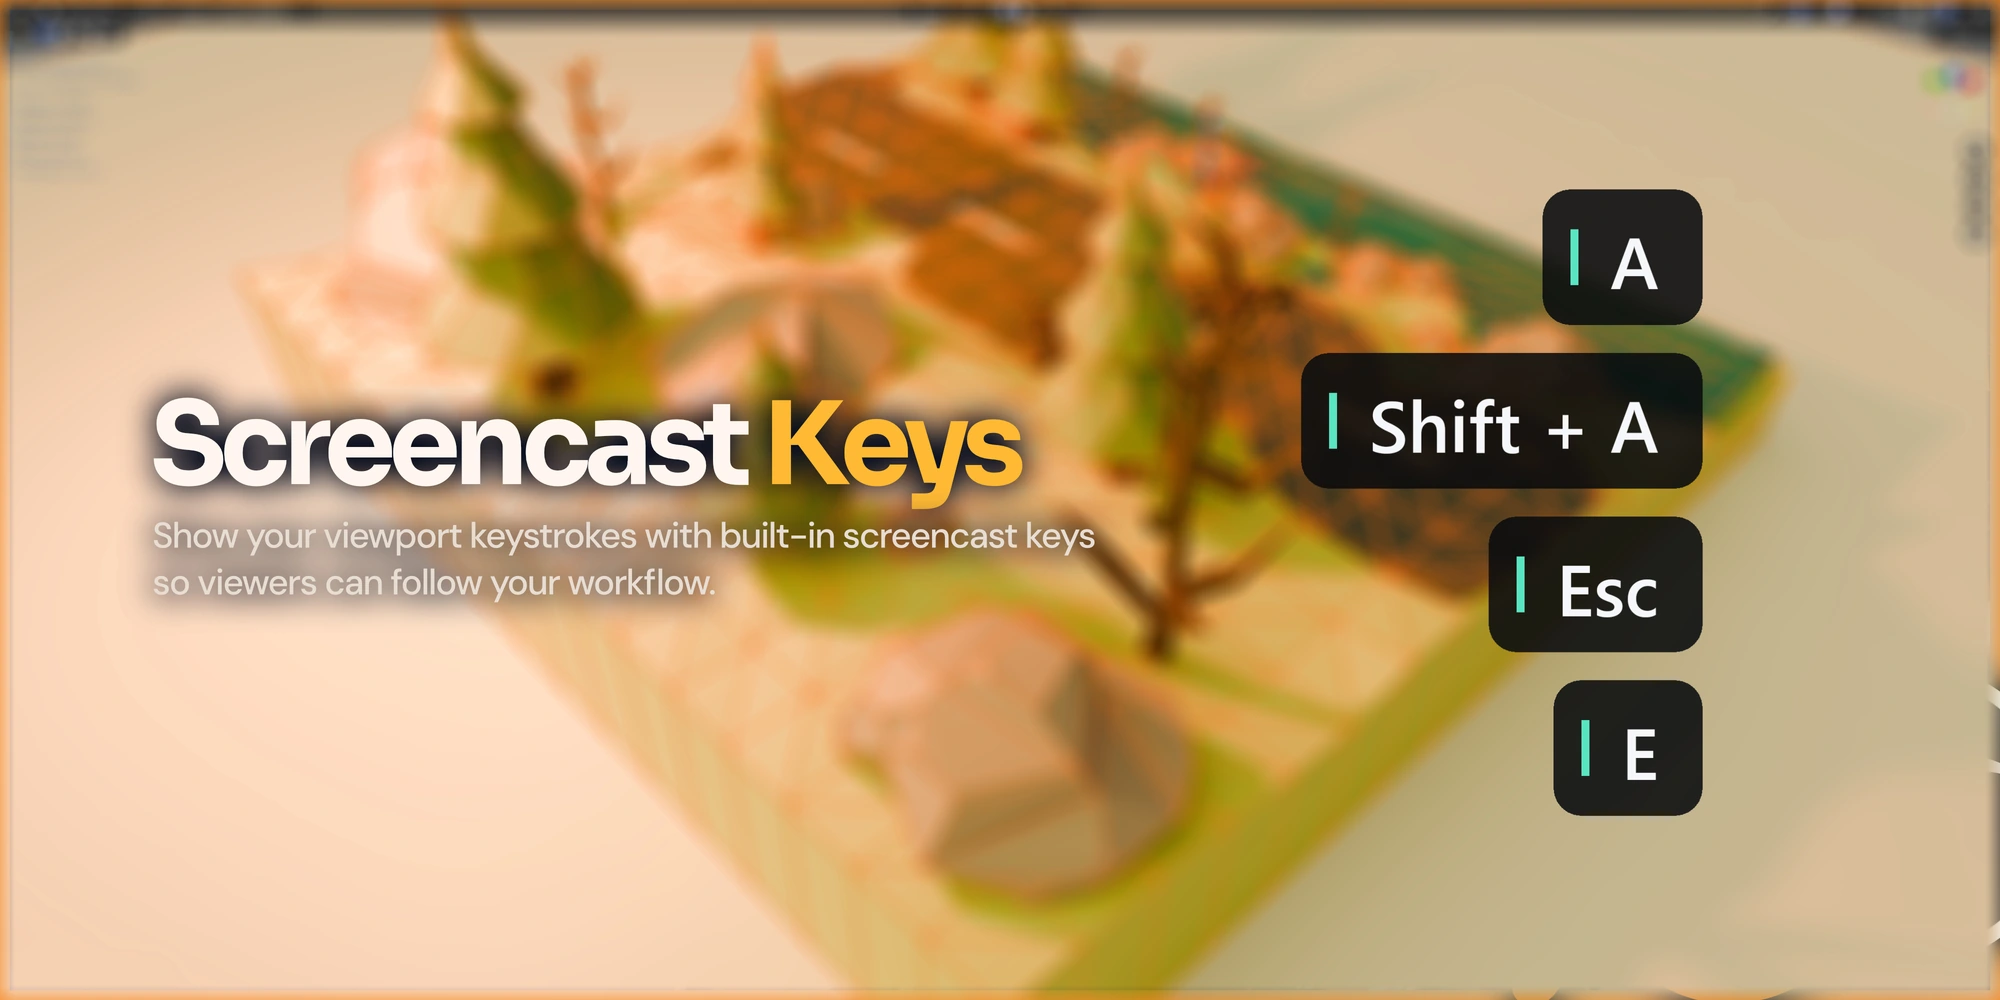
- Modeling tutorial: keep useful selections in the workspace, enable the output overlays needed to explain an edit, and show screencast keys when shortcuts are part of the lesson. Test readability at the final recording resolution.
- Material breakdown: pair a clean viewport with a separate Shader Editor source. Frame the relevant nodes rather than making the entire desktop smaller. Preview fine labels before recording a long explanation.
- Archviz scene review: show the scene with minimal interface clutter, then reveal measurements or relevant controls when discussing a detail. Review the OBS output for confidential labels and unrelated content before sharing it.
Window capture, clean capture or a final render?
Use ordinary screen or window capture when the full application interface is the lesson, or when you need a simpler setup without the addon bridge. Use Blender to OBS when you want a separate presentation view and independent editor sources on a compatible Windows setup. Use a final render when the deliverable requires final image quality rather than a live working viewport. These methods serve different purposes; none makes the others obsolete.
Framing and performance: what the addon does not guarantee
Format presets resize the real viewport or editor and can resize neighboring Blender editors. Fit preserves the complete image with possible empty space; Fill can crop it; Stretch can distort it. Inspect the OBS preview after changing aspect ratio. OBS still controls output resolution, FPS and recording quality.
Sharing the actual viewport avoids creating a second rendered viewport, but it is not a promise of zero overhead, zero latency or a fixed frame rate. Scene complexity, shading, GPU, driver and OBS encoding all matter. Start with a short recording in the exact scene and shading mode you plan to use, then inspect motion, color and text legibility.
Compatibility and troubleshooting checklist
This guide covers 0.12.2. The Windows x64 Vulkan release targets Blender 4.5 and 5.0-5.3 families, with OBS 32.1.2 tested. Recent editor checks include 4.5.14, 5.0.1, 5.2.3 and 5.3 beta, not every patch and GPU. Apple Silicon uses a separate experimental Blender 5.2/5.3 preview with a slower Metal/browser path and fewer features.
- No source after first installation: confirm Vulkan, restart Blender normally, and close OBS normally once before first-time receiver setup. Use Open in OBS from the OBS sidebar panel.
- Capture stops after changing files: restart capture and re-add the open editors needed for the new scene.
- An editor stops updating: keep it visible and restore its Blender window rather than leaving it minimized.
- Overlays remain in Wireframe: this mode includes native overlays. Test another supported shading mode for independent filtering.
- The result is soft, cropped or slow: review capture size, framing and OBS recording settings, then test a simpler scene. Send support your Blender/OBS versions, GPU/driver, shading mode and exact panel status if the issue persists.
Frequently Asked Questions
What problem does Blender to OBS solve?
It separates the view you need for working from the view your audience needs. On Windows, send the actual working viewport to OBS and choose which overlays and interface elements appear in the output without hiding them in your Blender workspace.
Does it create a second rendered viewport?
No. The Windows Vulkan path shares the actual working viewport. It does not create a second rendered viewport. This does not mean recording is free of GPU cost or that every scene will reach a particular frame rate.
Which Blender and OBS versions are supported?
Version 0.12.2 targets Windows x64 with Vulkan and Blender 4.5 and 5.0-5.3 families. OBS 32.1.2 was tested. Recent editor checks covered Blender 4.5.14, 5.0.1, 5.2.3 and 5.3 beta. The native bridge is experimental; compatibility varies by Blender build, GPU and driver.
Can I capture the Shader Editor or Timeline separately?
Yes, on Windows. Choose an already open editor or Window and add it as a separate OBS source. Each capture has its own format and framing settings. Keep captured editors visible and their Blender window restored.
Does Blender to OBS work on Mac?
Apple Silicon has a separate experimental preview for Blender 5.2/5.3 using a slower Metal/browser path. It does not include Windows editor capture, native interface/menu capture, screencast keys, Wireframe or Quad View. Do not assume feature parity with Windows.
Does the addon record automatically or replace OBS?
No. OBS remains responsible for recording, resolution, FPS and quality. Start recording in OBS after checking its preview. The addon supplies the Blender capture workflow.
Can I hide overlays in Wireframe?
Wireframe includes native viewport overlays. Independent overlay filtering is available in the other supported shading modes. Test the exact shading mode you plan to record.
Get Blender to OBS
Blender to OBS is developed by Bevel Graphics. Check the current Superhive package and platform notes before purchasing. The product page below collects the feature overview, while the setup documentation covers installation. For help, contact bevel.graphics1@gmail.com.